
 A Proud Canadian Company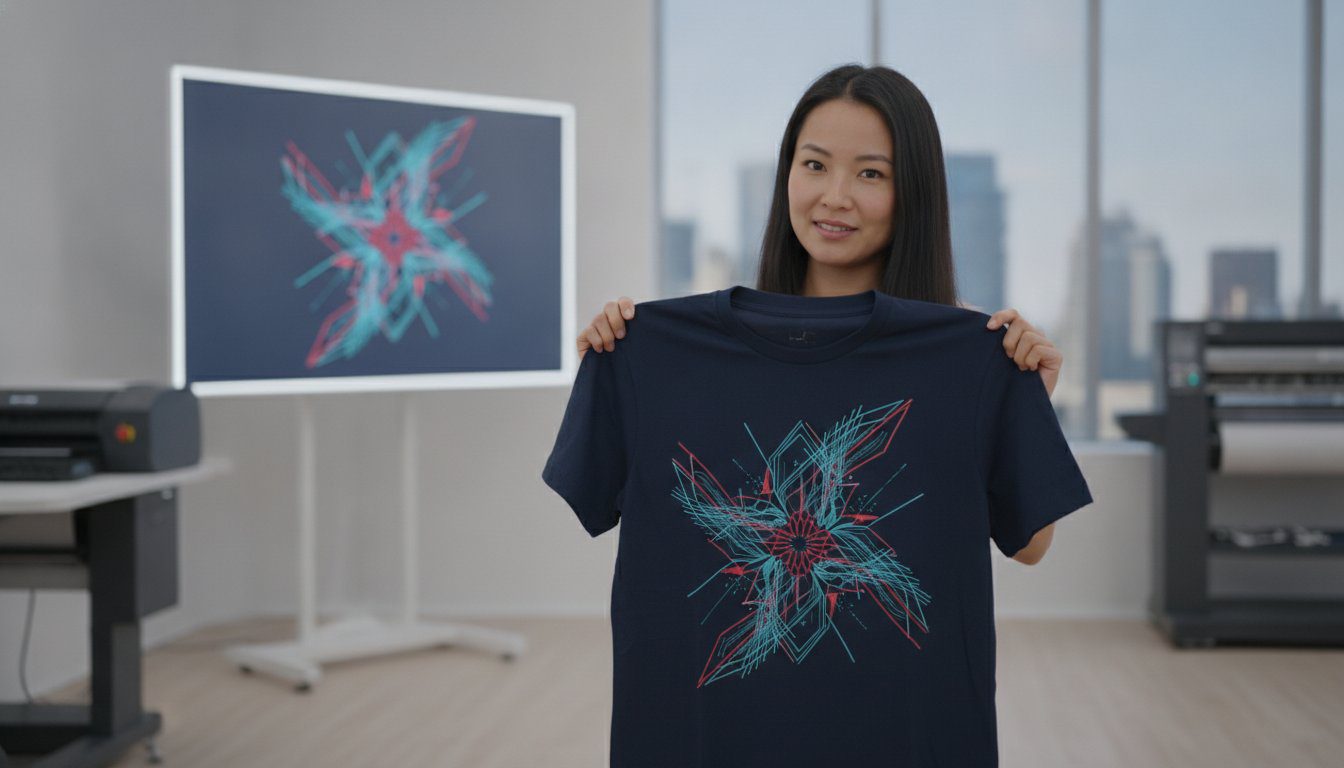
What if the most vibrant design on your screen turns into a dull, blurry mess the moment it hits the fabric? It’s a sinking feeling many creators face when they realize their digital art doesn’t translate to real-world apparel. Learning how to design a t-shirt for printing requires more than just a good eye; it demands a solid grasp of technical standards that ensure your vision stays sharp, clear, and professional. We know the frustration of choosing between SVG or PNG files and the uncertainty of how your favourite colours will look on a heavy cotton tee.
This guide will show you how to bridge the gap between creative vision and production-first precision. You’ll learn the professional strategies needed to transform your ideas into high-quality printed apparel that lasts. We provide a definitive checklist for print-ready files, explain which modern printing methods suit your specific artwork, and give you the confidence to place a bulk order with total peace of mind. From file resolutions to current Canadian textile standards, we’re here to guide you through every step of the craft.
Key Takeaways
- Establish your design’s purpose through branding, retail, or promotion to create apparel that resonates, inspires, and performs.
- Master the technical requirements of resolution, colour settings, and file formats to learn how to design a t-shirt for printing with professional-grade clarity.
- Identify why DTF (Direct-to-Film) is the premier choice for high-colour, detailed graphics that require durability, flexibility, and visual impact.
- Follow a methodical workflow from the initial concept to software selection to ensure your creative vision is built on a solid production foundation.
- Protect your project by reviewing digital proofs; it’s the best way to ensure your final order meets every professional standard before production begins.
Understanding the Fundamentals of T-Shirt Design
A print-ready design is the foundation of every successful project. It isn’t just a creative sketch; it’s a high-resolution digital file optimized specifically for fabric application. When you’re learning how to design a t-shirt for printing, your first step is defining the project’s core purpose. Are you building a corporate brand, promoting a local festival, or launching a retail line? Each goal dictates different design choices. A retail graphic might prioritize intricate details, while an event shirt needs high-contrast elements that are visible from a distance. You must also respect your “canvas.” The weight and texture of the fabric influence how well the ink stays put. Heavier cottons provide a sturdy base, whereas thinner blends might cause fine lines to bleed slightly. Contrast is your best friend here. Choosing ink colours that pop against the garment base ensures your message is never lost in the fabric. Understanding various T-shirt printing methods helps you realize how colours interact with different textiles.
Choosing Your Garment Colour and Style
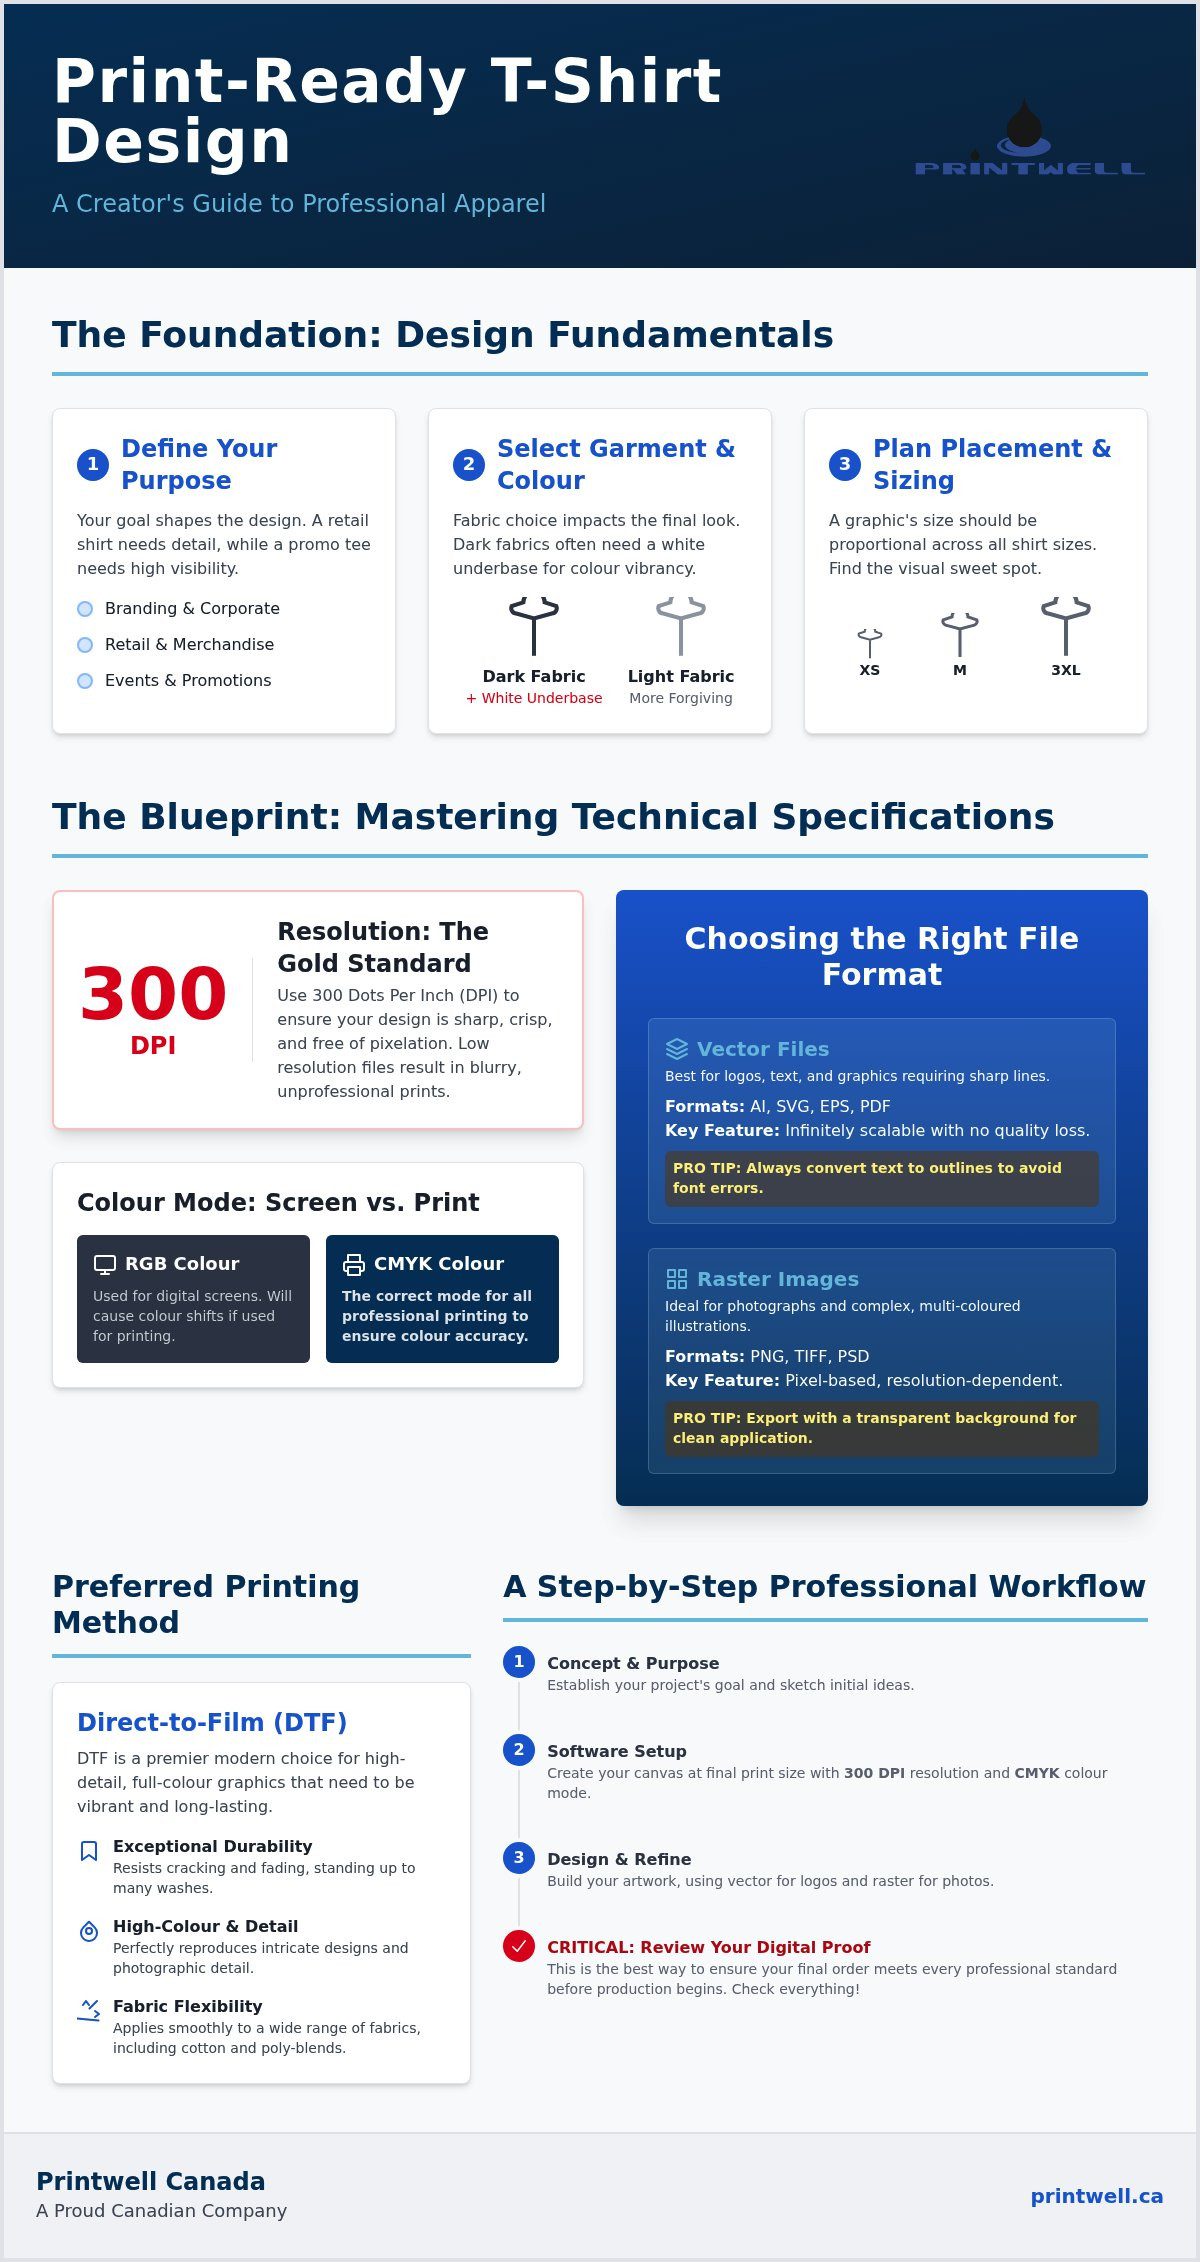
Placement and Sizing Strategies
Standard locations like the full front, left chest, or back nape provide a professional look. Finding the “sweet spot” is crucial. A design that’s too high looks like a necklace; too low, and it sits awkwardly on the stomach. You also need to visualize the design across a range of sizes. A 10-inch wide print looks massive on an XS but can appear lost on a 3XL. We recommend scaling your artwork or choosing a middle-ground size that maintains a balanced proportion across your entire order. This thoughtful approach ensures every person in your group looks their best. Understanding how to design a t-shirt for printing means thinking about the final wearer as much as the initial art.
Mastering the Technical Specs: Resolution, Colour, and Files
The technical side is where your creative vision meets physical reality. If you want to know how to design a t-shirt for printing that looks professional, you have to start with resolution. 300 DPI (dots per inch) is the industry gold standard. It ensures every line is crisp, every detail is sharp, and every edge is clean. Designing at a lower resolution leads to pixelation, which quickly ruins the aesthetic of your custom apparel. High-resolution files provide the printer with the precise data needed to recreate your art with total fidelity, especially when working with intricate textures or fine typography.
Colour management is equally critical. Screens use RGB light, but printers use CMYK ink. Cyan, Magenta, Yellow, and Key (black) are the four primary colours that create your final image. If you design in RGB, the vibrant neon tones on your monitor might look significantly different when they hit the fabric. Converting your workspace to CMYK early in the process prevents disappointment. This is also the time to manage halftones and transparency, ensuring that fading edges or complex gradients don’t disappear during the printing process. Proper file preparation results in a product that looks exactly like your digital proof.
The Vector Advantage for Logos and Text
Vector files, such as SVG or AI, are built on mathematical paths rather than pixels. This structure allows for infinite scaling, perfect clarity, and zero quality loss regardless of the print size. To avoid missing typeface errors, always convert your fonts to outlines. This locks the typography in place so it looks exactly as you intended on every machine. For those seeking professional embroidery services, vector files are the essential starting point for high-quality digitizing that translates into clean, durable stitching. They offer the flexibility needed for everything from small pocket logos to massive back prints.
Preparing Raster Images for DTF Printing
Raster images like PNGs are the standard for complex illustrations or photographs. When using these, ensuring transparent backgrounds is vital to avoid the “white box” error where a rectangular background prints around your art. Pay close attention to anti-aliasing; these are the semi-transparent pixels on the edges of your design. While they look smooth on a screen, they can create a fuzzy halo on fabric if not handled correctly. Using high-quality exports with a solid alpha channel ensures your edges stay sharp. Direct-to-Film is the modern standard for high-detail custom apparel.
Matching Your Design to the Right Printing Method
Selecting the right production technique is as vital as the artwork itself. A stunning graphic can lose its impact if the chosen method doesn’t align with the design’s complexity or the garment’s purpose. When you are learning how to design a t-shirt for printing, you must evaluate your project based on volume, detail, and desired aesthetic. Traditional screen printing remains a powerful option for large-scale bulk orders with limited colour palettes. It offers high-speed production, excellent durability, and a classic feel. However, for those who need more versatility, modern methods provide solutions that were once impossible to achieve with standard equipment. Mastering how to design a t-shirt for printing means recognizing which tool will best bring your specific vision to life.
When to Choose DTF Printing
Direct-to-Film (DTF) is the premier choice for high-colour, detailed graphics and small-batch orders. It excels at reproducing complex gradients, intricate photos, and exceptionally fine lines that traditional methods might struggle to capture. The process involves printing your design onto a specialized film which is then heat-transferred to the fabric. This ensures a crisp, vibrant finish on both light and dark textiles. For a comprehensive look at optimizing your layout for this method, explore our Complete Guide to DTF Gang Sheet Printing in Canada for 2026. Beyond the visual appeal, DTF is built for the Canadian lifestyle. It stays flexible, resists cracking, and maintains its colour through frequent washing and freezing temperatures.
Designing for Professional Embroidery
Embroidery provides a premium, three-dimensional texture that signifies quality and longevity. It is the authoritative choice for corporate polos, branded hats, and heavy-duty hoodies. To get the best results, you must adapt your design to the physical reality of thread and needle. This means simplifying complex shapes and avoiding tiny text that becomes illegible when stitched. We discuss these technical strategies in detail within The Power of Custom Embroidery. Clean lines and bold blocks of colour translate best into thread, creating a durable mark of craftsmanship. By matching your design to these production strengths, you ensure your apparel looks professional, stays sharp, and leaves a lasting impression on your audience.
A Step-by-Step Design Workflow for Professional Results
Creating a successful apparel line starts with a methodical, structured process. It begins with concept development; sketching your initial ideas on paper allows you to gather inspiration and refine your theme before touching a computer. When you’re ready to digitize, your software choice depends on the project’s specific needs. While accessible tools like Canva are excellent for quick, template-based layouts, professional suites like Adobe Illustrator (version 30.8) or CorelDRAW Graphics Suite 2026 offer the precision needed for complex vector work. Even the updated Affinity 3.1 provides a robust platform for modern creators. Learning how to design a t-shirt for printing means choosing a tool that supports high-resolution exports, CMYK colour profiles, and precise path control. Once your art is digital, perform a rigorous final check. Verify your spelling twice, confirm your resolution is exactly 300 DPI, and ensure your background transparency is active. These steps protect your investment and ensure a flawless result.
Using Mockups to Realize Your Vision
A flat design file on a bright white screen rarely looks the same as a finished, worn garment. Digital mockups allow you to visualize your design on a 3D T-shirt, helping you identify if a graphic feels too large, sits awkwardly, or lacks impact. You can adjust the placement based on the true centre of the chest, which often differs from the mathematical centre of the fabric. Testing your artwork against various garment colours digitally saves time and prevents colour-clash mistakes. It ensures your ink choices remain legible, vibrant, and balanced regardless of whether the base fabric is charcoal, navy, or classic white. This visual verification builds confidence before you commit to a full production run.
Exporting for Production
Clear, intentional communication with your print partner is the final bridge to a perfect product. Name your files descriptively to keep the workflow organized; a file named “Company_Logo_Back_300DPI” is much more helpful than “final_v2_new_final.” Including a simple tech pack or a brief set of instructions for print placement ensures there is no guesswork during the manufacturing stage. Before you save the final export, double-check that all hidden layers, guide lines, and stray pixels are removed. This cleaning process prevents “ghost” elements or unexpected boxes from appearing in the final print. When your files are polished, organized, and ready, you can confidently order your custom t-shirts and watch your vision come to life.
Finalizing Your Order and Bringing Your Vision to Life
Once you have mastered how to design a t-shirt for printing, the final transition from a digital file to a tangible product requires a trusted partner. This stage is where your technical preparation meets professional execution. You have already ensured your 300 DPI resolution is set, your CMYK colours are balanced, and your layers are clean; now, it’s time to see those elements applied to fabric. Organizing a bulk order is the most effective way to maximize cost efficiency, especially for corporate branding or retail merchandise. By consolidating your needs into a single production run, you reduce setup overhead, maintain consistent quality, and lower the per-unit cost. Understanding national shipping logistics is also key. Knowing that your order can reach you anywhere across Canada allows you to plan your marketing launch or community event with total certainty.
Reviewing Your Digital Proof
The digital proof is your final safeguard against unexpected results. It provides a visual representation of how your artwork sits on the specific garment style you selected. When you receive a proof, you should meticulously check for colour accuracy, sizing proportions, and text clarity. Ensure that the placement matches your tech pack instructions exactly. You should never skip the proofing stage for large orders, as it’s the only time to catch minor errors before the ink hits the fabric. Give clear and specific feedback if adjustments are needed. A small correction at this stage ensures the final product meets your professional standards and avoids costly reprints.
Ordering with Printwell Canada
Working with a specialist allows you to leverage expert knowledge to ensure your design translates perfectly to fabric. We handle the technical heavy lifting, from refining your high-quality DTF transfers to ensuring your embroidery is crisp and durable. We take personal pride in our craftsmanship and our commitment to providing reliable results for every client. You get the convenience of high-quality national shipping across Canada, ensuring your custom apparel arrives ready for use. Our process is designed to be straightforward, helpful, and focused on the success of your project. Ready to see your design in person? Start your custom T-shirt order with Printwell Canada today!
Bring Your Creative Vision to Life with Professional Precision
Mastering the technical standards of 300 DPI resolution, CMYK colour profiles, and clean vector paths ensures your creative vision translates perfectly to every garment. You now have the essential checklist needed to choose between the vibrant detail of DTF printing and the durable, premium texture of custom embroidery. By following a structured workflow from the initial sketch to the final digital proof, you eliminate guesswork and build a product that your audience will be proud to wear. Understanding how to design a t-shirt for printing is the first step; the second is choosing a partner who values your craftsmanship as much as you do.
We handle the technical heavy lifting with expert DTF and embroidery services that deliver high-resolution professional prints every time. Our fast national shipping across Canada ensures your order arrives exactly when you need it, regardless of your location. It’s time to transform your digital files into high-quality apparel that makes a lasting impact. Create your custom T-shirts with Printwell Canada and experience the difference that professional attention to detail provides. We’re ready, capable, and eager to help you create something truly remarkable.
Frequently Asked Questions
What is the best file format for T-shirt printing?
Vector files like SVG, AI, or high-quality PDFs are the industry standard for logos and typography because they scale infinitely without losing clarity. If you’re using a raster image, a high-resolution PNG with a transparent background is the best choice for Direct-to-Film transfers. These formats ensure your lines stay sharp, your colours remain vibrant, and your background doesn’t print as a solid white box on your garment.
How do I make sure my design isn’t blurry when printed?
To prevent blurry results, you must set your file resolution to exactly 300 DPI at the final print size. Lower resolutions like 72 DPI are meant for screens and will appear pixelated on fabric. Learning how to design a t-shirt for printing effectively means avoiding the temptation to enlarge small web images. Starting with a high-resolution canvas ensures your artwork remains crisp, professional, and clear once it’s heat-pressed or embroidered.
Can I use a photo for my T-shirt design?
You can certainly use photos for your design, provided they’re high-resolution and clear. Direct-to-Film (DTF) printing is the ideal method for photographs because it captures complex gradients, fine details, and realistic skin tones with exceptional accuracy. Ensure your photo is at least 300 DPI and cropped appropriately. This allows us to reproduce your memories or brand imagery with professional-grade fidelity that stands up to frequent washing and daily wear.
What is the difference between RGB and CMYK for printing?
RGB is a colour model based on light for digital screens, while CMYK uses cyan, magenta, yellow, and black ink for physical printing. Because printers can’t recreate every vibrant neon shade seen on a monitor, designing in a CMYK workspace prevents unexpected colour shifts. This simple step ensures the rich blues and deep reds you see on your computer screen translate accurately to the fabric of your custom t-shirts or hoodies.
How many colours should I use in my T-shirt design?
The number of colours you should use depends entirely on your chosen printing method. If you’re using DTF transfers, you can use an unlimited palette of colours, gradients, and shades without increasing your production costs. For traditional screen printing, keeping your design to one or two colours is more cost-effective for bulk orders. Focus on creating high-contrast layouts that ensure your message is visible, readable, and impactful from a distance.
What is the best software for designing T-shirts?
Professional designers typically use Adobe Illustrator version 30.8 or CorelDRAW Graphics Suite 2026 for precise vector creation. These tools offer the best control over paths and colour profiles. If you prefer a more accessible option, the updated Affinity 3.1 or Canva can produce excellent results for simpler layouts. The key is ensuring your chosen software allows you to export files at 300 DPI with a transparent background for a professional finish.
How do I centre my design on the shirt correctly?
Centring a design correctly requires balancing the artwork against the garment’s natural proportions rather than just the mathematical centre of the fabric. For a standard chest print, we typically place the top of the design about three fingers below the collar. This ensures the graphic sits naturally on the wearer’s chest. Using a digital mockup helps you visualize how to design a t-shirt for printing so that the placement looks intentional, professional, and balanced.
Is DTF printing more durable than screen printing?
Modern DTF printing is exceptionally durable and often rivals the longevity of traditional screen printing. It’s engineered to stay flexible, resist cracking, and maintain its vibrant colour through dozens of laundry cycles. Because the film creates a strong bond with the fabric, it handles the rigours of Canadian winters and frequent washing without peeling. This makes it a reliable, high-quality choice for everything from community event shirts to premium retail merchandise.